Blender Creations Portfolio: Virtual Studio Code Projects Showcase
- hisuijade9232
- Aug 6
- 4 min read
In the world of digital art and 3D modeling, Blender stands out as a powerful tool. It allows artists to create stunning visuals, animations, and interactive experiences. If you are a fan of creativity and technology, you will appreciate the potential of Blender. This blog post will showcase a portfolio of projects created using Blender, all while integrating with Virtual Studio Code.
Whether you are a beginner or an experienced artist, this post will provide insights into how to leverage these tools effectively. Let’s dive into the exciting world of Blender creations and explore how they can be enhanced with coding.
What is Blender?
Blender is an open-source 3D creation suite. It supports the entirety of the 3D pipeline, including modeling, rigging, animation, simulation, rendering, compositing, and motion tracking.
The best part? It is free to use. This accessibility has made it a favorite among hobbyists and professionals alike.
With Blender, you can create anything from simple models to complex animations. The possibilities are endless.
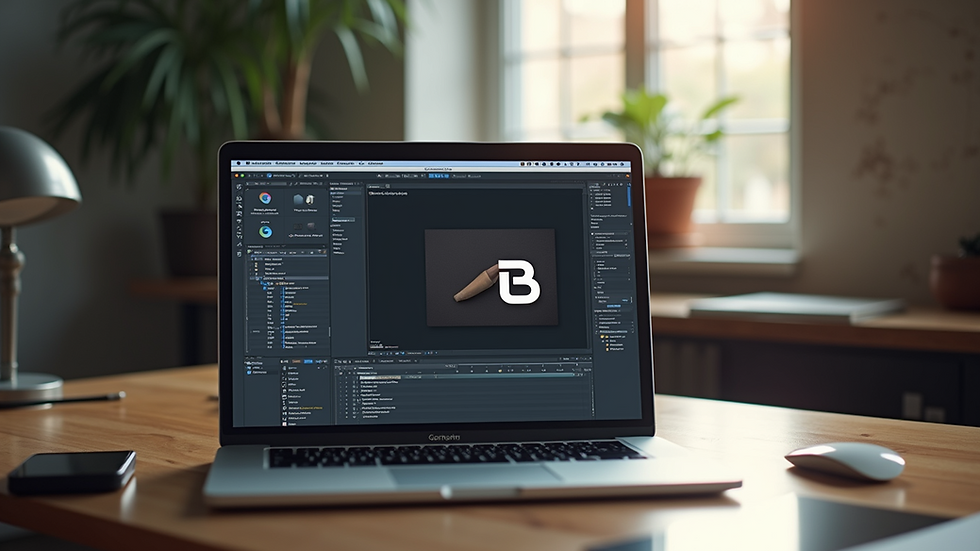
Why Use Virtual Studio Code?
Virtual Studio Code (VS Code) is a popular code editor. It is lightweight, fast, and packed with features.
Using VS Code with Blender can enhance your workflow. You can write scripts in Python to automate tasks, create add-ons, or even develop game logic.
Here are some reasons to consider using VS Code with Blender:
Integrated Terminal: You can run scripts directly from the terminal.
Extensions: There are many extensions available that can improve your coding experience.
Debugging Tools: VS Code offers powerful debugging tools that can help you troubleshoot your scripts.
Getting Started with Blender and VS Code
To get started, you need to install both Blender and VS Code.
Download Blender: Visit the Blender website and download the latest version.
Install VS Code: Go to the VS Code website and download the installer.
Set Up Python: Blender uses Python for scripting. Make sure you have Python installed on your system.
Install the Blender Development Extension: This extension allows you to work with Blender files directly in VS Code.
Once you have everything set up, you can start creating!
Project Showcase: 3D Character Model
One of the most exciting projects you can undertake in Blender is creating a 3D character model.
Step 1: Concept Art
Before jumping into Blender, sketch your character. This will serve as a reference throughout the modeling process.
Step 2: Modeling
Start by creating the basic shape of your character. Use Blender’s sculpting tools to refine the details.
Step 3: Texturing
Once your model is complete, it’s time to add textures. Use UV mapping to apply images to your model.
Step 4: Rigging
Rigging is the process of creating a skeleton for your character. This allows you to animate it later.
Step 5: Animation
With your character rigged, you can start animating. Create keyframes to define movements.
Step 6: Exporting
Finally, export your character model for use in games or animations.

Project Showcase: Architectural Visualization
Another fascinating project is architectural visualization. This involves creating realistic representations of buildings and spaces.
Step 1: Gather References
Collect images and blueprints of the building you want to visualize.
Step 2: Modeling the Structure
Use Blender to model the building. Pay attention to proportions and details.
Step 3: Adding Materials
Apply materials to your model to give it a realistic look. Use Blender’s shader editor for advanced effects.
Step 4: Lighting
Lighting is crucial in architectural visualization. Experiment with different light sources to achieve the desired mood.
Step 5: Rendering
Render your scene to create high-quality images. Use Blender’s Cycles or Eevee rendering engines for different effects.
Project Showcase: Animation Short Film
Creating an animated short film is a challenging yet rewarding project.
Step 1: Storyboarding
Start with a storyboard. Outline the key scenes and actions in your film.
Step 2: Modeling Characters and Environments
Create all the characters and environments needed for your film.
Step 3: Animation
Animate your scenes using keyframes. Pay attention to timing and movement.
Step 4: Sound Design
Add sound effects and music to enhance the viewing experience.
Step 5: Final Edits
Make any final adjustments to your film before exporting it.
Tips for Success
Here are some tips to help you succeed in your Blender projects:
Practice Regularly: The more you practice, the better you will become.
Watch Tutorials: There are countless tutorials available online. Use them to learn new techniques.
Join Communities: Engage with other Blender users. Online forums and social media groups can provide support and inspiration.
Experiment: Don’t be afraid to try new things. Experimentation can lead to unexpected and exciting results.
The Future of Blender and Coding
As technology evolves, so does the potential for Blender and coding.
With advancements in artificial intelligence and machine learning, we can expect new tools and features in Blender.
Coding will continue to play a significant role in enhancing the capabilities of Blender.
By learning to code, you can unlock new possibilities for your projects.
Final Thoughts
Blender is a powerful tool for anyone interested in 3D modeling and animation.
By integrating it with Virtual Studio Code, you can enhance your workflow and create amazing projects.
Whether you are creating character models, architectural visualizations, or animated films, the combination of Blender and coding can take your work to the next level.
So, grab your tools and start creating. The world of 3D art awaits you!

Comments